News to the world – I’m actually not a very good crafter. I am actually totally clumsy and most crafts I end up doing come out completely wrong the first time.
Shock!
It’s weird, because a lot of entries on this blog have ended up being DIY stuff! (See: Small Life, Slow Life: How to Make a Vision Board, Small Life, Slow Life: Marimekko Pinboard DIY, and Small Life, Slow Life: A Kick of Creativity.) Making crafts isn’t really in my comfort zone. But I really like to make gifts for people I love, so it’s become kind of a habit!
If you’re feeling uncrafty, just go for it! The mistakes make it sweeter, I think.
So when my BFF Darcy told me she was feeling in a crafty mood, I didn’t hesitate for a second to jump in on this fun colored mason jar project with her!
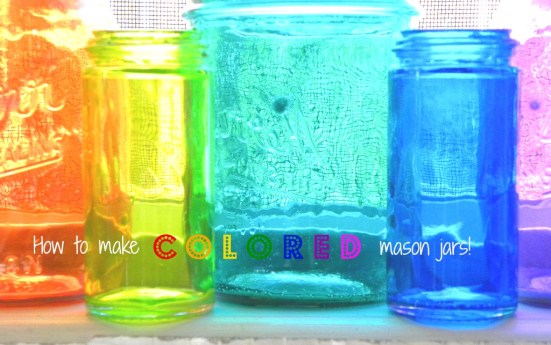
These are SUPER beautiful and so unbelievably easy to make – they’re foolproof, even for a nerd like me. Here’s what to do:
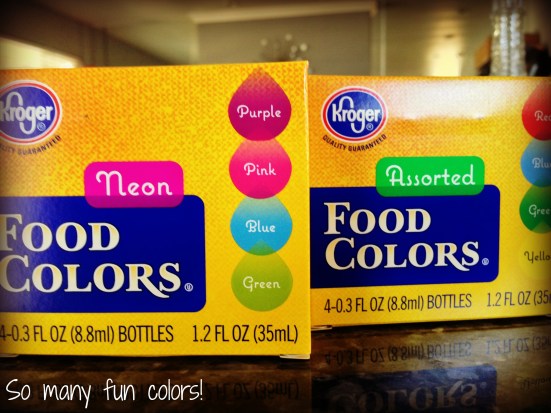
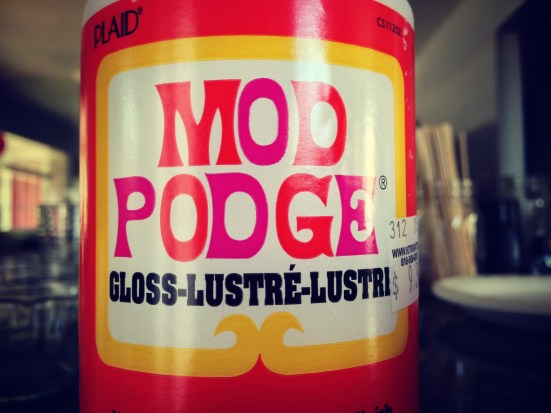
You’ll need a paper plate, popsicle sticks, a foil-lined baking sheet, an oven pre-heated to 200-degrees, food coloring and gloss-finish Mod Podge.
Mod Podge is a sort of tacky glue; other types of glue may work just fine, but all of the tutorials we looked at recommended the Mod, so that’s what we used.
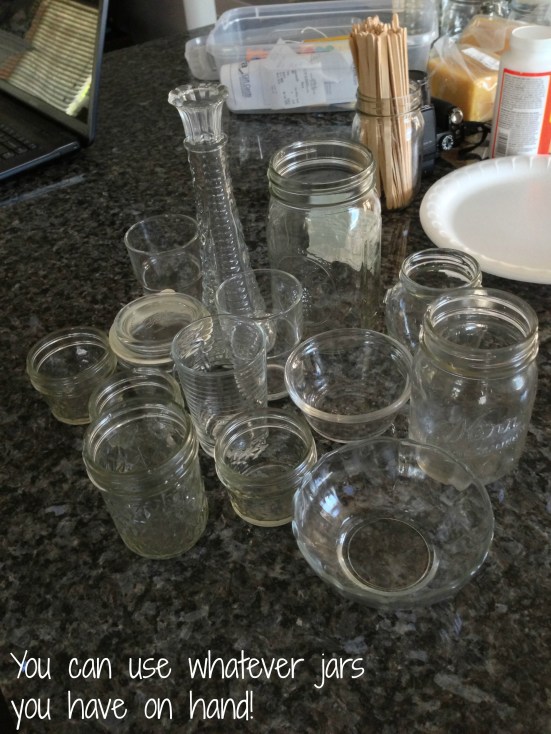
Gather the jars you want to use. A variety is fun, or plain old mason jars will work just fine. I went to a restaurant supply store and bought glass salt and pepper shakers and a bud vase to try out. Total cost? About $3!
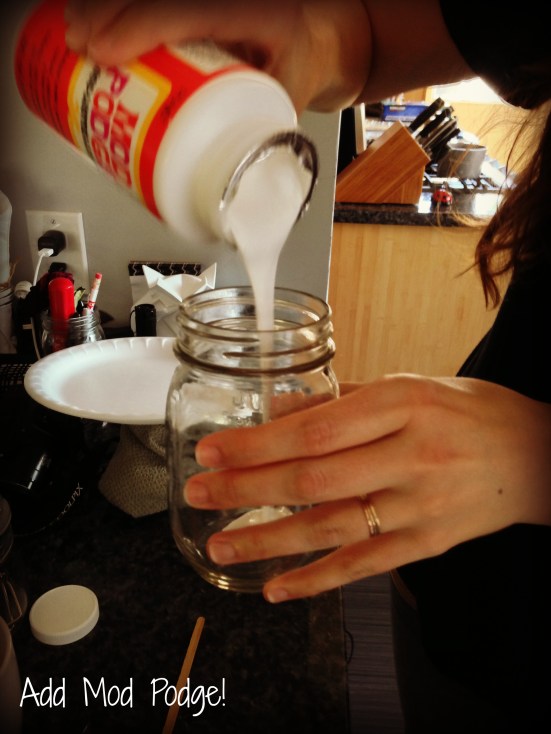
To begin, take the first jar you want to use and add the Mod Podge to the bottom. Just pour it on in. Some websites told us to use about two tablespoons, but I think I used a bit more in my jars. Some websites also said that adding a tiny (like, a teaspoon or less) amount of water can help the Mod Podge roll around smoothly. We did not do that, though I would consider trying it next time.
You don’t want to overdo it too much, since you could end up with streaky jars. Just add a bit at a time and you’ll figure out the right amount as you go.
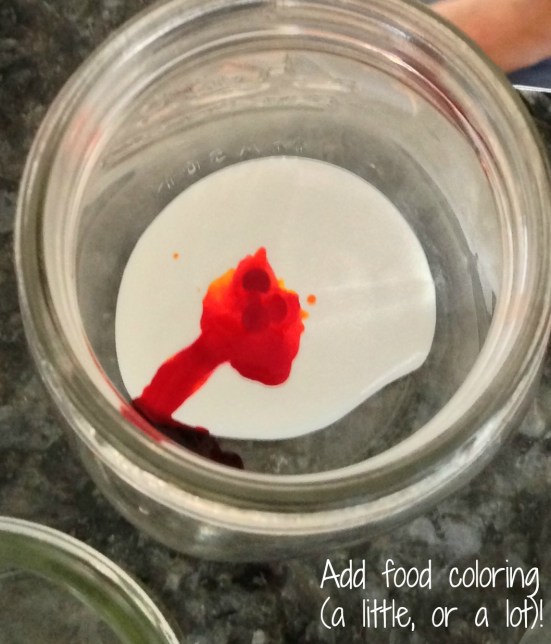
Next, you’ll add your food coloring. Darcy picked out some pretty colors, but feel free to mix up your colors too. I think the prettiest jar of the bunch was a turquoise one that Darcy mixed herself with blue and green.
Websites told us to add just a few drops of food coloring.
Yeah, I didn’t listen to them – I added a ton! And my jars turned out super vibrant. I love them!
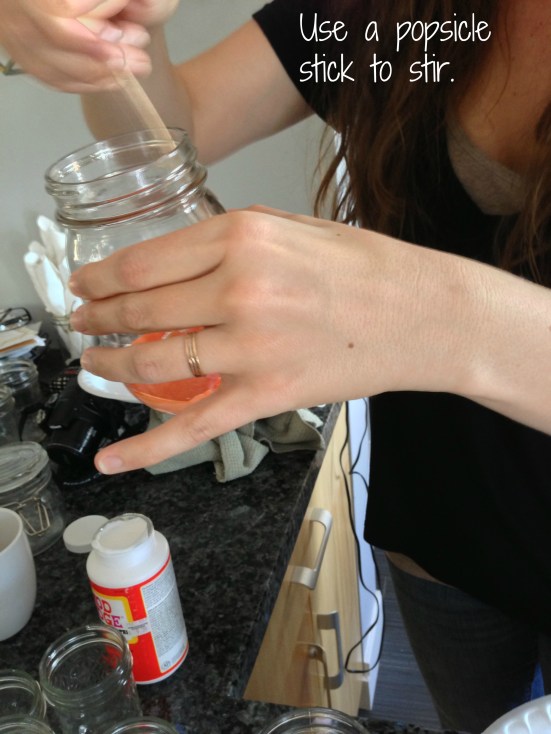
Use a popsicle stick to mix your food coloring and Mod Podge. Mix it really well – you want a nice, even color. Unmixed color/glue will show up as streaks in your final product.
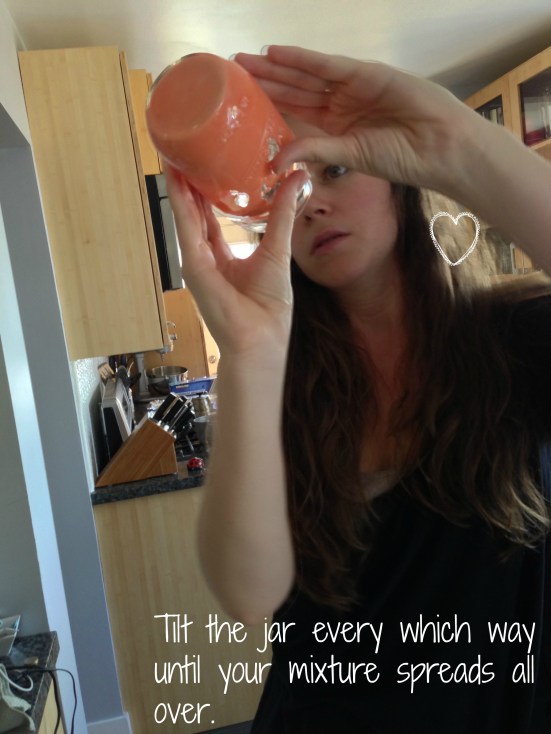
Now, it’s time to tilt the jar so that your mixture covers all of the inside. This is where you’ll find out if you used too little Mod Podge, or too much. You can correct at this stage by adding more Mod Podge if you need to.
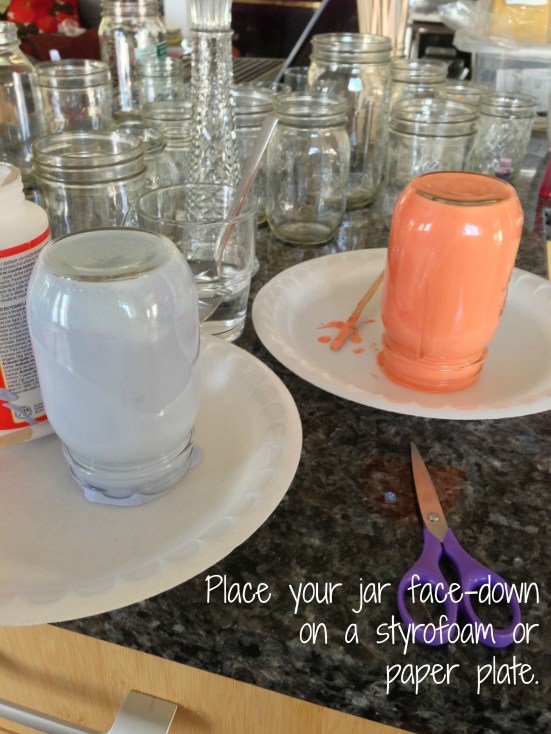
Once you’ve got the inside all covered (any mixture that ended up on the outer rim of the glass can simply be wiped off with a paper towel), place the jar upside down on a paper or styrofoam plate. This will rid your jar of the excess mixture before baking.
Repeat the process until you’ve Mod-Podged as many jars as you want. Darcy and I made a bunch, but in retrospect, these came out so pretty that we wished we’d made many more! Plus, you can expect to have some duds in your first batch.
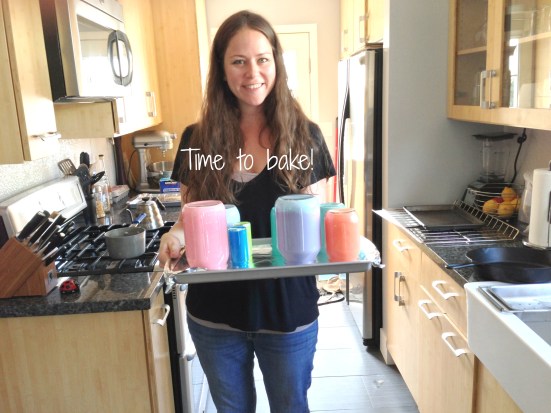
Once you’ve finished all the jars you want, it’s time to bake!
Put your jars upside down on a foil-lined baking sheet (you don’t want glue on your baking sheet; it’ll never come off). Place in a pre-heated 200-degree oven.
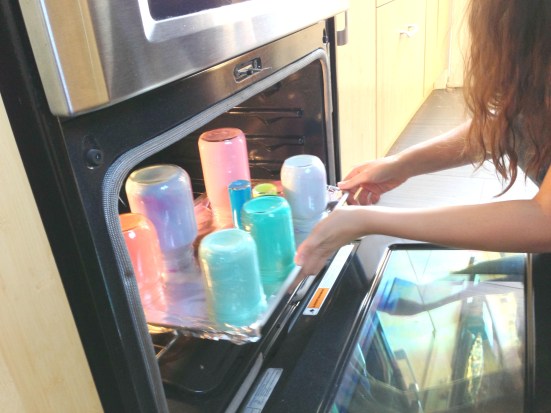 You’ll be baking them for around 20 minutes total. It’s SUPER fun to watch the colors change as they bake!
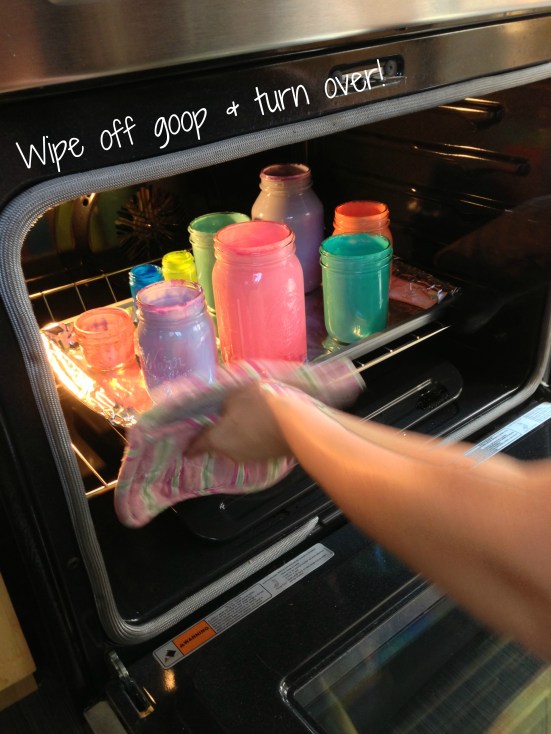
Very important step: Ten minutes into the baking, pull them (carefully) out with an oven mitt, turn over and wipe off the excess goop around the outer rim of the jar.
You have to turn them over mid-bake, or you’ll end up with an ugly one like this.
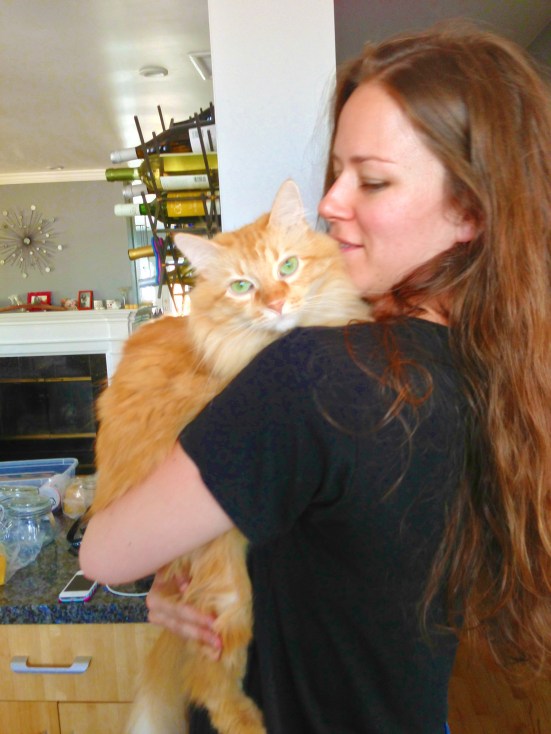
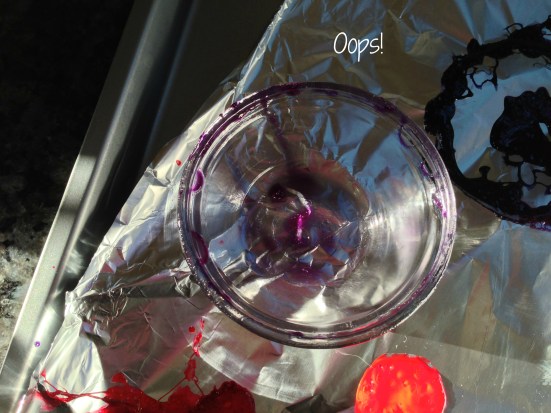 While they bake, you can sit and watch them dry, or take a kitty break. You can see which option we chose.
 After about 2o total minutes, you’ll be able to tell that your jars are done. If there are any streaks or bubbling goo, you can leave them in a bit longer. We left one batch in for almost 40 minutes, so don’t sweat it if you think they need more time. Just make sure you turn them over halfway through so you don’t end up with a dud.
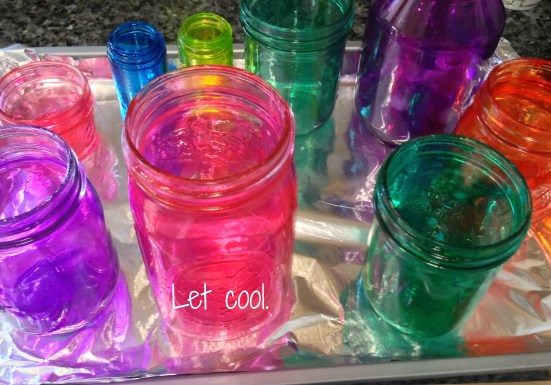
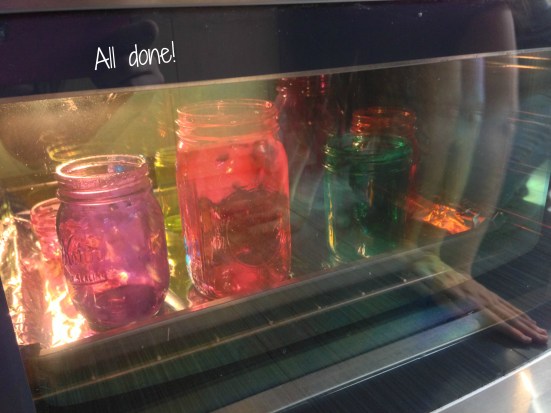 They will be super hot, so make sure you let them cool for a while!
Aren’t they gorgeous?!
You’re all done!
Note: If you want to use your jars as flower vases or drinking cups, you’ll need to add a clear sealer to them. Otherwise, water will affect the glue. These are not safe to drink out of unless you add a sealer, so keep that in mind. Mod Podge is non-toxic, but I don’t think any of us want our drinks flavored with glue!
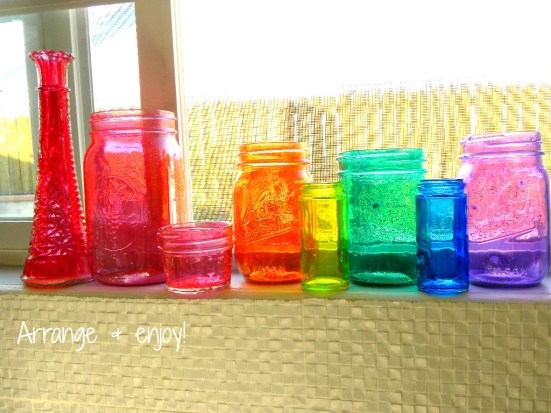 Darcy is using her jars for dried flowers and bobby pins. I use mine for Q-tips or just as a pretty arrangement in the window. We know there are so many fun uses for these and can’t wait to give some away as gifts!
 We think we’re in love! What crafts have you done with mason jars?
These look fantastic – Can’t wait to try this!
Could you mod podge the outside instead? like premix the glue and colors and paint them? I’m thinking kid friendly (minus the baking part) and as long as they don’t paint the rim they can still use for drinking? Never worked with mod podge before….
Hmm, I think there would be a couple of issues with that. One would be that at some point, you’d need to wash your jars. Whether the Mod Podge is on the inside or outside, it’s going to dilute a bit when it comes into contact with water and soap. I read that the whole mixture will come off with washing. If you were going to use it as a vase for flowers, it would be no big deal if you painted the outside, but I think, in your case, it may be best to find a clear sealant for the inside of your jars so your kids can drink out of them.
I’ve heard that people have used Elmer’s Glue too – same idea. It’s non-toxic, but it won’t survive eating/drinking/dishwashing.
Hope this helps! 🙂
Jennifer, have you ever found a clear sealant to make the colored mason jars drink proof? I just made them for a bridal shower gift and would like them to be drink proof. Thanks, Terri.
typnqn@yahoo.com is my e-mail. Thank you.
I haven’t! You could always paint and seal the outside and then leave the rim clear so they’re safe to drink out of.
Could I use this technique on thinner glass items?
We tried it on a variety of different glass items but you would possibly need to lower your oven temp so your glass doesn’t crack…I really don’t know!
I make these all the time with most any glass containers and I paint the outside then spray with clear sealer. Just wash quickly by hand in arm water and dry. They also don’t need to be baked….they dry on their own in a couple of hours. Makes beautiful jewel toned candleholders.
I did this on the out side of the glass with brush stopping about 1 to 2 inches from top. I put mine in a cold oven preheating to 350 left in oven for 30 minutes. Turn off oven and let cool enough to handle. ( I put them on parchment paper didn’t turn at all) make sure they are good and dry before putting in oven
Could you tell me what type of clear sealer you would recommend to use these as a vase centerpiece for my upcoming wedding? I can’t seem to find anything that will not make the color bleed.
Thank you.
What sealant do you use to allow for drinking or place h2o in for flowers?
I haven’t tried using a sealant yet, but you can find a sealant at any craft or home improvement store! A person who works there will be able to tell you which are safest.
I have checked with several different craft stores and 2 different home improvement stores and I was informed that there was nothing that they were aware of that they would use as a sealer that was food safe.. PLEASE HELP ME!! lol
My recommendation to you would be to use paint instead of Mod Podge and to paint the outside of the jars instead of the inside. A good tutorial for that is here: http://tatertotsandjello.com/2011/03/guest-project-make-diy-painted-mason.html
I’ve tried 3 x and they all cam out streaky and some looked patch, a friend wanted the jars for her rustic wedding table, and now we are freaking out over this can you help?
I’ve literally only made them the one time I blogged about. I would try more glue at a lower temperature and take them out earlier.
These are so pretty but plan on indoor deco use only. I tried to use them outside as solar lites and the color totally faded out very quickly.
Thanks for posting that. It’s what I was planning to do with the solar lights. I was also thinking about getting some of that phosphorus powder to put in the jar that recharge in the sun. Back to square one lol.
Excellent tutorial! Thanks for sharing!
Pingback: DIY: Vintage Tinted Mason Jars | Domestocrat
Pingback: Small Life, Slow Life: What to Do When Your Body Says No. {Plus Link Love!} | small life, slow life
can you use these as tea light candle holders after words?
I’d be worried about flammability with candles inside. Maybe try painting the outside of your jars if you want to use them that way! 🙂
I would use the fake battery operated tea lights….
If your first one turns out to be an ugly pancake, could you scrub off the first tint and try again?
Yes I believe so. A magic eraser would most likely take it right off.
Pingback: Pinteresting Misadventures | Always A Little Further To Fly
I am wanting to make pendant lights for the kitchen with mine…..I have painted the inside, will they need a sealant?
Hi Tara! Pendant lights should be totally fine, as Mod Podge is not flammable. Please send me a photo when you complete that project – I might like to put some pendant lights on my balcony! 🙂
I bought pendent lighting, instead of pendent lights it uses 8 mason jars. Would the mod podge get ruined if I use them with a light?
Pingback: Simple Pinterest Projects | asamatterofcrafts
I made these and had them sitting in a window not in direct sunlight and the colors faded really bad, it’s almost gone in most of them..did anyone else have this problem…
My first ones faded too! A clear sealer will help keep the colors bright. You can get some at any craft store! 🙂
Pingback: Small Life, Slow Life: I’m Engaged! (For real.) | small life, slow life
Don’t know what I did wrong but it didn’t work! The mod podge is all bubbly and there’s no color anymore it all seeped onto the foil. Please help
Sounds like your oven temp was too high or you left your jars in for too long. You need to watch them pretty carefully – they cook quickly! I ruined one too which I mentioned in the post.
What about if I used blue food coloring but it turned red or my green turned yellow? No mixing of colors either, just solid color. But now my bottles are a milky white color as if the color ran out. They came out of the oven colorful and transparent but the color did not hold…. hmmm?
Left in too long or your oven was too hot!
200 Fahrenheit or Celsius?
Fahrenheit. 🙂
How do you paint them with out getting steaks
Don’t paint them. Use enough glue that by turning the jar over in your hands, the glue covers evenly.
You didn’t use a filter for these right? These are the actual colors that they will turn out?? What would you recommend to seal them with, to be able to drink out of them??
No filter! But I used a LOT of food coloring. And as of yet I haven’t found a sealer I would consider, as chemicals freak me out a bit. You could try painting the outside of the jars and then using any sealer you like though.
Pingback: 140 Diy Mason Jar – Crafts, Lights, Storage, Vases, Glitter - Rilane
I did a different version of this except mine is water safe and no oven settings need to be made! Check it out for some more inspiration on my blog! I LOVE how bright yours turned out!!
I have a dishwasher safe mod podge. I am going to make the inside a color. I want to put a saying on the outside with scrapbooking letters. Could I seal over it in mod podge and it dry clear? This is my first time working with mod podge.
I think the scrapbooking letters will come off in the dishwasher? I don’t really know. Give it a try and let me know how the letters hold up!
My son and I are doing this for a school project of his! So far so good they are in the oven now!
My first try didn’t turn out so great, but I did leave out the step on turning over first onto a paper plate. How long do you leave on the plate? THANKS! Great projects.
About 10 minutes before flipping! But you can kind of tell when it’s time to flip them.
Instead of letting the paint run down the side, why not use a paint brush to paint it then bake?
You could try that but you’d have steaks down the sides and the layer of glue likely wouldn’t be thick enough. You could give it a shot though!
Hi so I actually tried painting it. I would show you a picture but I had the oven too hot and the colour clumped at the rim. If you paint it on at a medium thickness then let the excess drip off it takes away all of the brush line. Just remember to clear away all of the excess before outing in the oven otherwise it will stick and peal like mine did. Also leave yourself somewhere to place your fingers then touch it up with the brush right before putting it on the oven. Mine was on 150c which I discovered was way too hot.
great idea! but, where do I get the “sealer” from that you spoke about after the jars have cooled completely?
Amazon. Try searching Krylon Clear Sealer.
so cool. I just did a giant mason jar. It took about 1.5hours but it looks great. Now I have a place for all my wooden spoons. Glad it’s non toxic.
tried this….it didn’t work AT ALL!! Worked only when I baked for 5-10 mins at half the recommended temperature…otherwise they burnt n came out black?! 😦
Sounds like your oven gets really hot! Remember the recommended temps are Fahrenheit and not Celsius. Also, something that really helps is purchasing an internal thermometer that tells the accurate temperature inside your oven — you’d be surprised how very often it’s different from what you set it to! I have an electric coil oven now and it cooks very unevenly, so I purchased a thermometer that sits inside the oven. The size of your jar and how thick the mod podge is also makes a difference, so it’s important to watch them as they cook. 🙂
This is so awesome! Thank you for sharing your ideas with pinterest! I am using mine as centerpieces for my wedding reception. Will post pictures when finished.
Please do! I’d love to see them!
How do get the non glossy look of an old painted jar?
I haven’t personally done that but I would use the matte mod podge instead of the glossy, paint the layers thicker and skip the baking process. There are tons of tutorials for how to do that all over the internet as well. 🙂
Hi just wondering if they have to be baked upside down? I have a couple bottles that won’t stand up when they are upside down. Any suggestions would be wonderful. Thank you l
I would try baking just one and see how it comes out. You need to flip them over halfway through so the glue doesn’t get stuck at the bottom of your jar.
Mine keep streaking. Help. I am doing all as u have said. Any where I can post u pics? I’ll try Facebook can u tell me what I am doing wrong
Not sure why it would streak but the most common problem I see is people putting their ovens too hot.
I am making mason jars with electric light bulbs inside. Can I tint the inside of my jars with modge podge without it melting if the jars get to hot inside?
Never tried that but I don’t think the bulbs should melt the glue. Maybe try googling that specifically.
Are they supposed to be translucent when you take them out of the oven? I have left them in for 40 min at 200 and the mod podge is still a milky color. Did I use too much mod podge or is it my oven temp? Do they dry clear?
It’s hard to know without seeing. Take them out for an hour and see if they lighten up. If not, you can drain some of the mod podge and stick em back in the oven.
Thanks. I will try that. They look much like the picture of when they were being turned over.
Gah! I was trying to get the vintage blue tint look on some old crown glass mason jars I found and I definitely used too much food colouring versus water as they came out way too blue for the vintage look after baking.
Any ideas on how to tone down the blue now that they are done and baked so I don’t waste the vintage jars?
Just run them through the dishwasher till the mod podge comes off.
I have tried a few but, they never turn out they way that they should. My worry is how long do you turn the jar over to let the excess come out? Every time I try something different and I don’t want to keep ruining nice vases.
Thank you,
-A
You can always put them in the dishwasher a few times to get the color back to transparent.
I’ve only done this once (for this blog) and they turned out perfectly, and that was years ago, so not too sure how to help you! But we turned the jars over for less than five minutes to get the excess out.
I think if you soak the stained jars in muratic acid for swimming pools, it will strip them back down to the bare glass, then you could start over, try again. I use a 5 gal. bucket and submerge glass in it for 24 hours to clean all impurities, very effective !
Will it turn out if my mixture is really thin and there are bubbles?
It’ll be faint. Try adding more glue.
Can you repeat the process on the same jar?
I mean if I wanted a deeper color, can I just do it again on top of the old?
I’m not sure! Give it a try and let me know 😉
Can we do it without the oven?
I don’t actually know! Sorry!
So the permanent color is on the interior of the glass and not the exterior ? Thanks for posting this, excited to try this unknown craft.
Yes, on the inside 🙂
Hi! Your jars are so beautiful and colorful as I see the whole world being. I also love your technique. I just have one question. I’ve been trying to get it answered for a while now, so maybe you’ll be the one that knows. My Husband and I just bought our 1st house together and we’re having some work done in our kitchen, his bath and my bath. We’re on up in our years so this is our forever home. We’re Praying that the work will be finished by our 33rd Anniversary May24th. I’m sorry I got off of the subject there didn’t I? In my bath (which every woman should have of her own 😉 and not wait until they’re 62 like I did to get one) I’m going to put up 2 pieces of wood, one behind my sink, the other to the right of my sink. That’s where I’m going to put red baked mason jars. BUT my question is, while they’re baking do they put out an odor? I have a breathing problem and I wouldn’t want to do anything to worsen that. Thank you so much for listening to my story and have a Blessed Day.
Hi! There’s no odor at all. 🙂 Enjoy your new home!
Hello. Thank you so much for sharing your project. Your jars are absolutely BEAUTIFUL!! I would like to know how to do smaller containers, such as a vase? How do you mix all the ingredients with having such a small opening? Thank you so much for your time and have a blessed day.
I used vases and just kind of winged it! Some didn’t turn out awesome but I mostly was able to get the glue/paint to cover evenly. My recommendation is to try it with inexpensive vases you don’t care about first (we got ours at a restaurant supply store) until you get the hang of it!
I wonder if this can be done on glass ornaments, or if they’re too thin and will shatter?
Can you do this using large pickle jars
Yes. Any glass will work.
I am wondering what can go wrong if I do the outside….I want to do a few as single use vases for a wedding centerpiece….
I would test one and try! Now, I made these over ten years ago, but from what I remember the glue really drips so I don’t know if it will work on the outside.